Publishing packages to npm is a critical step in modern JavaScript development, and securing that process is more important than ever. Traditionally, npm publishing relied on long-lived access tokens stored as secrets in CI/CD systems. While effective, this approach increases the risk of token leakage, accidental exposure, or misuse.
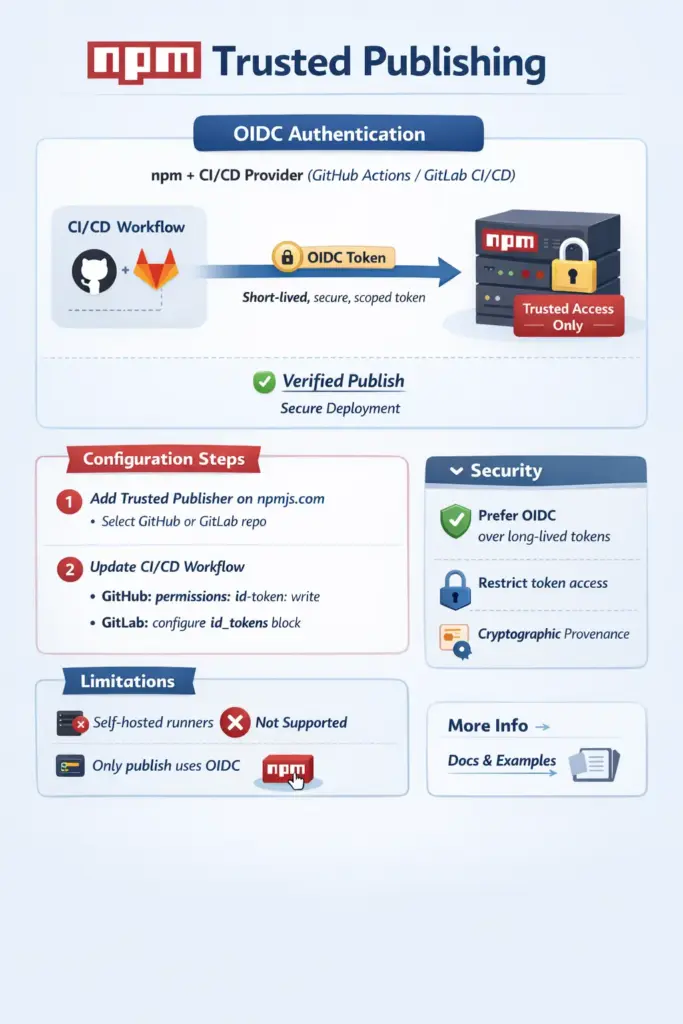
Trusted Publishing in npm introduces a more secure and modern alternative by leveraging OpenID Connect (OIDC). Instead of static tokens, npm can now trust specific CI/CD workflows—such as GitHub Actions or GitLab CI/CD—to authenticate securely using short-lived, automatically issued identity tokens.
With OIDC, the CI pipeline proves its identity directly to npm at publish time. npm validates that identity against a pre-configured trusted publisher, ensuring that only approved repositories, workflows, and environments are allowed to publish packages. This model significantly reduces secret management overhead, improves security, and enables cryptographic provenance for published packages.
In this article, we’ll explore how OIDC works, how npm Trusted Publishing uses it, and why this approach is becoming the recommended way to securely publish packages to the npm registry.
We take like a reference the official site for trusted publish npm
To start login into your npm account and go to settings and under Trusted Publisher, click GitHub Actions.
For GitHub Actions
Configure the following fields:
- Organization or user (required): Your GitHub username or organization name
- Repository (required): Your repository name
- Workflow filename (required): The filename of your workflow (e.g.,
publish.yml)- Enter only the filename, not the full path
- Must include the
.ymlor.yamlextension - The workflow file must exist in
.github/workflows/in your repository
- Environment name (optional): If using GitHub environments for deployment protection
Save your data pressing “Set up connection” button
How to configure maximum security
- Save your changes by clicking on Update Package Settings
- After enabling trusted publishers, navigate to your package’s Settings → Publishing access
- Select “Require two-factor authentication and disallow tokens”
Pipeline
Add the required OIDC permissions to your workflow.
permissions:
id-token: writeIf you have token you can remove it from your pipeline
 - name: Publish
   run: npm publish --provenance --access public
-  env:
- NODE_AUTH_TOKEN: ${{ secrets.NPM_TOKEN }}Make sure your pipeline is using npm >=11.5.1 and Node >=24:
- name: Install npm
  run: npm install -g npm@latest
- name: Use Node.js
uses: actions/setup-node@v6
with:
node-version: 24If you don’t have this versions you will get this error
npm notice Access token expired or revoked. Please try logging in again.
npm error code E404
npm error 404 Not Found - PUT https://registry.npmjs.org/html-react-parser - Not foundThat’s it, happy coding 🙂